

How to Clean Your Car's Headlights and Pass the MOT Test
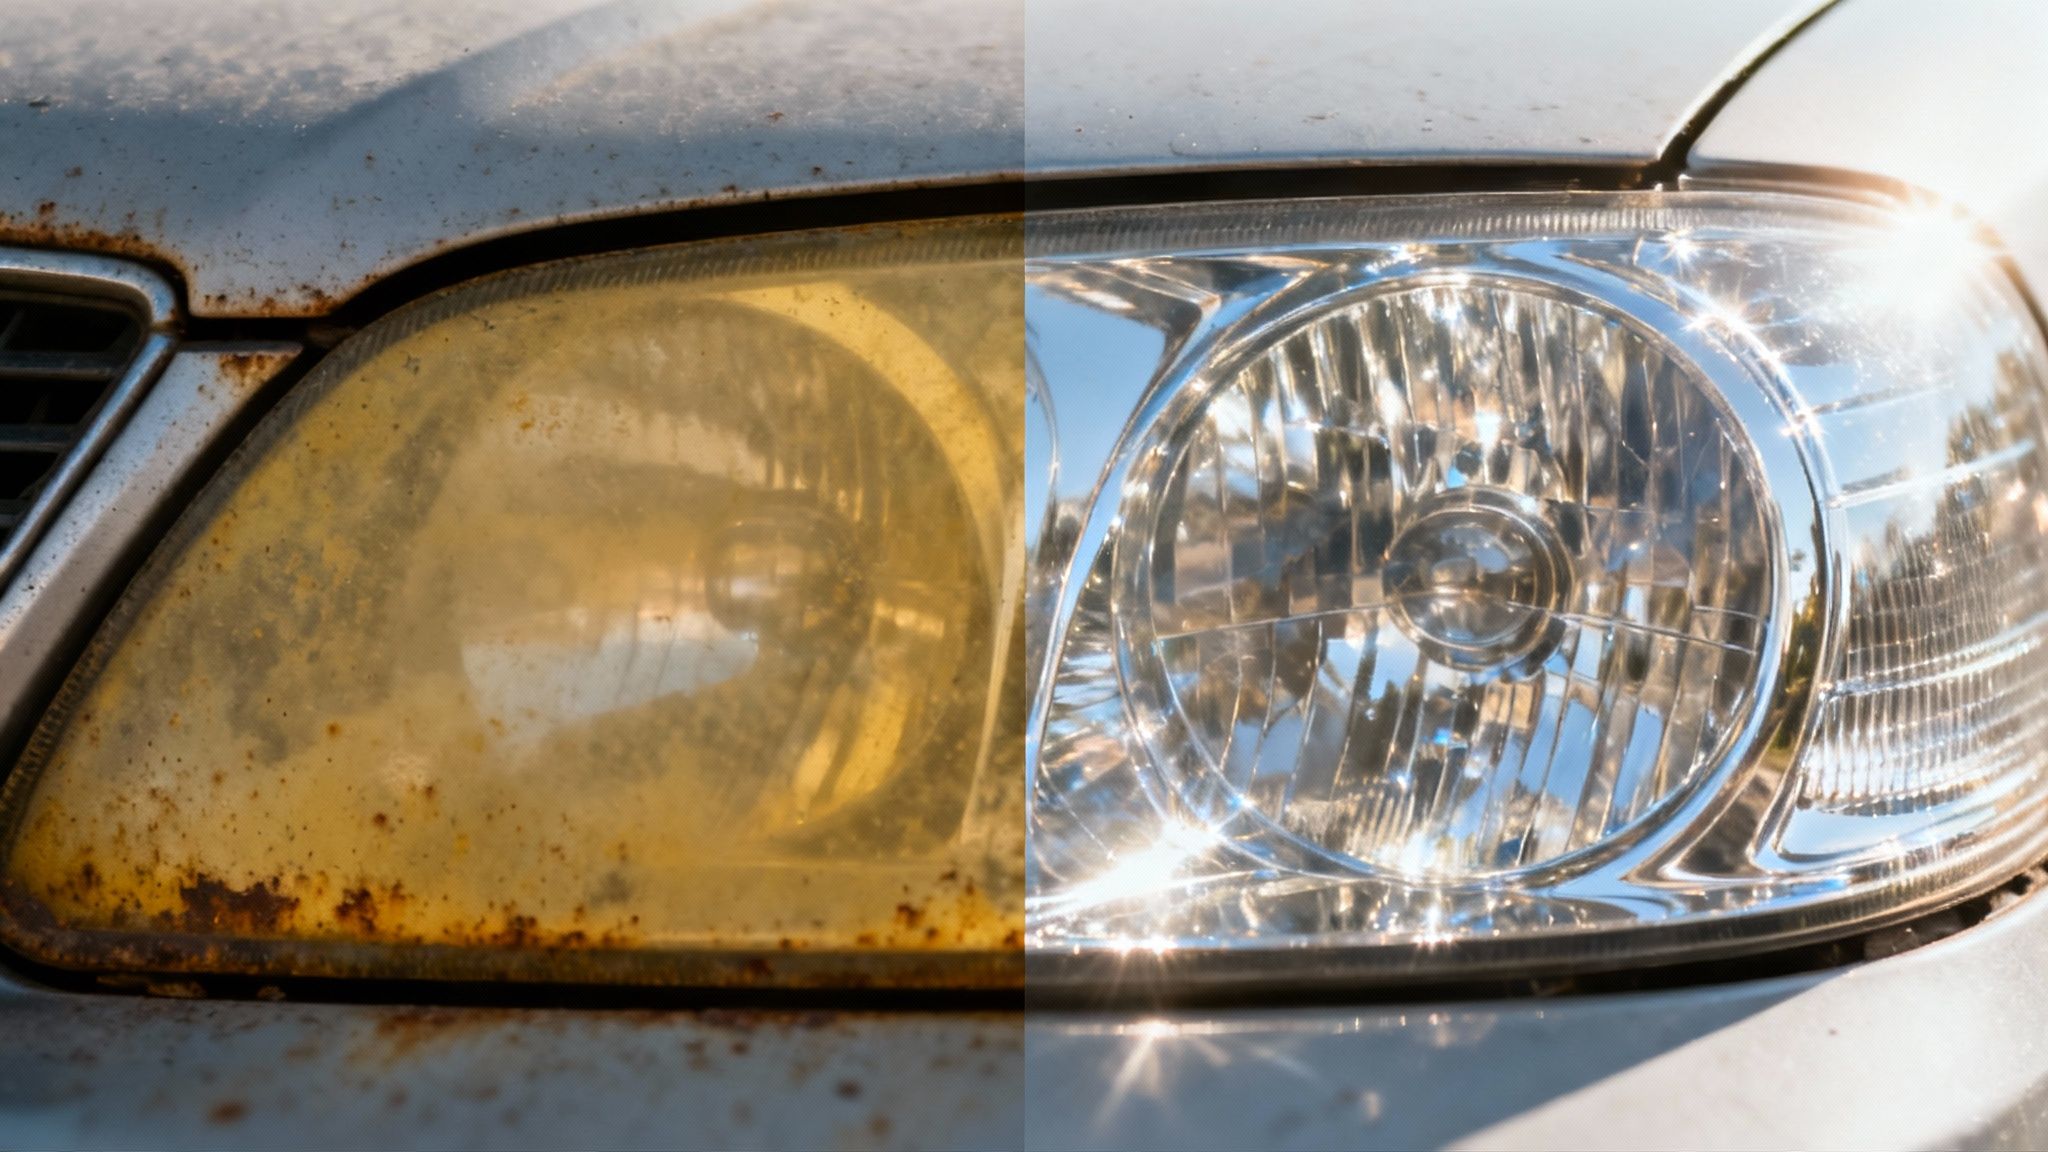
Knowing the proper procedure for cleaning cloudy headlights is crucial, as it improves nighttime visibility and prevents deterioration of the lighting system from affecting the MOT test. Surface dirt can be removed with a gentle wash; however, yellowing of the polycarbonate requires restoring the outer layer and protecting it from ultraviolet radiation.
It is essential to identify the cause of the problem before proceeding with sanding. A headlight may have poor exterior cleanliness, oxidation in its structure, internal fogging, cracks, malfunctions, or burned-out bulbs. Each case requires a specific solution, as polishing does not repair a crack, dry internal condensation, or correct a misaligned beam.
Why do headlights yellow and lose transparency?.
Most headlights incorporate a polycarbonate lens, which is factory-protected against ultraviolet rays. Various factors, such as sun exposure, harsh washing, and road debris, can compromise headlight integrity. When the product shows signs of deterioration, a change in the finish is noticeable, acquiring a yellowish and opaque tone, which affects the headlight's ability to project light properly.
The effect is not limited to aesthetic considerations. A weaker or diffused beam of light can reduce contrast in low-light conditions, which can cause glare if the optics or bulb adjustment are faulty. This review of how headlight wear affects visibility and vehicle inspections explains why it's advisable to take action before the deterioration becomes severe.
How to know if cleaning is enough or if polishing is necessary.
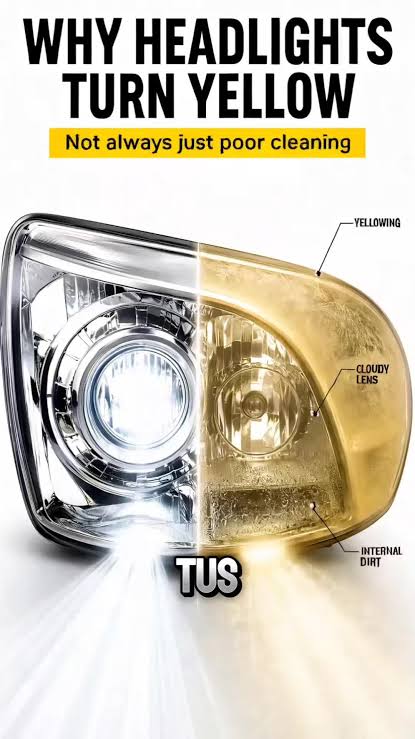
The headlight should first be washed with water and a neutral, automotive-specific soap, using a clean microfiber cloth. If it regains its transparency upon drying, the problem was caused by dirt. If the color remains yellowed and the surface is still rough to the touch, the outer protective layer is likely oxidized and requires polishing.
Condensation, Cracks, or Lighting Failure.
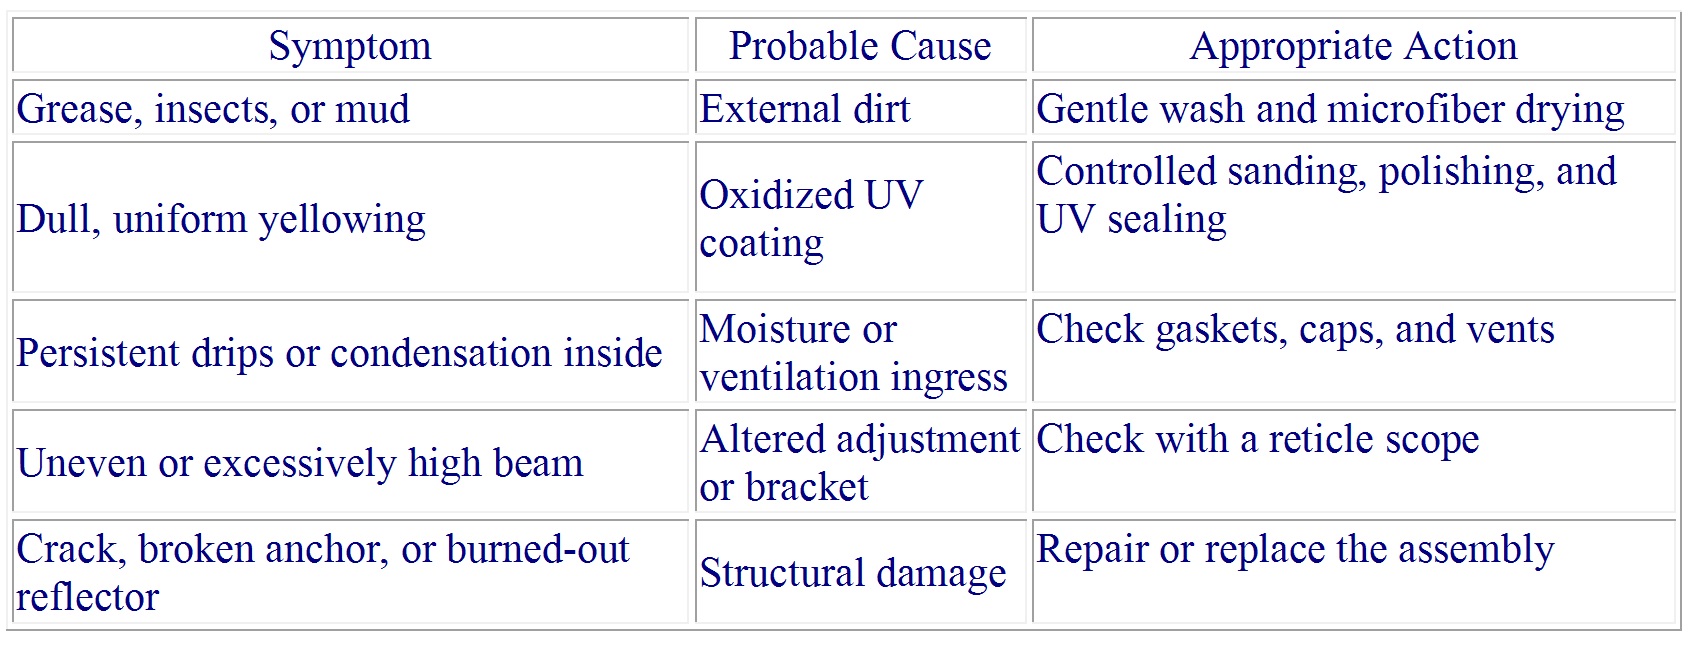
It's important to note that imperfections on the inner surface cannot be removed by polishing. Persistent condensation may indicate a problem with the gasket, cover, vent, or housing. The guide to removing moisture from the headlight and locating its source helps distinguish condensation from external cloudiness. In case of structural damage, it is recommended to visit a specialist workshop for a detailed evaluation.
The following comparison helps prevent the application of an inappropriate solution.
How to restore cloudy headlights step by step.
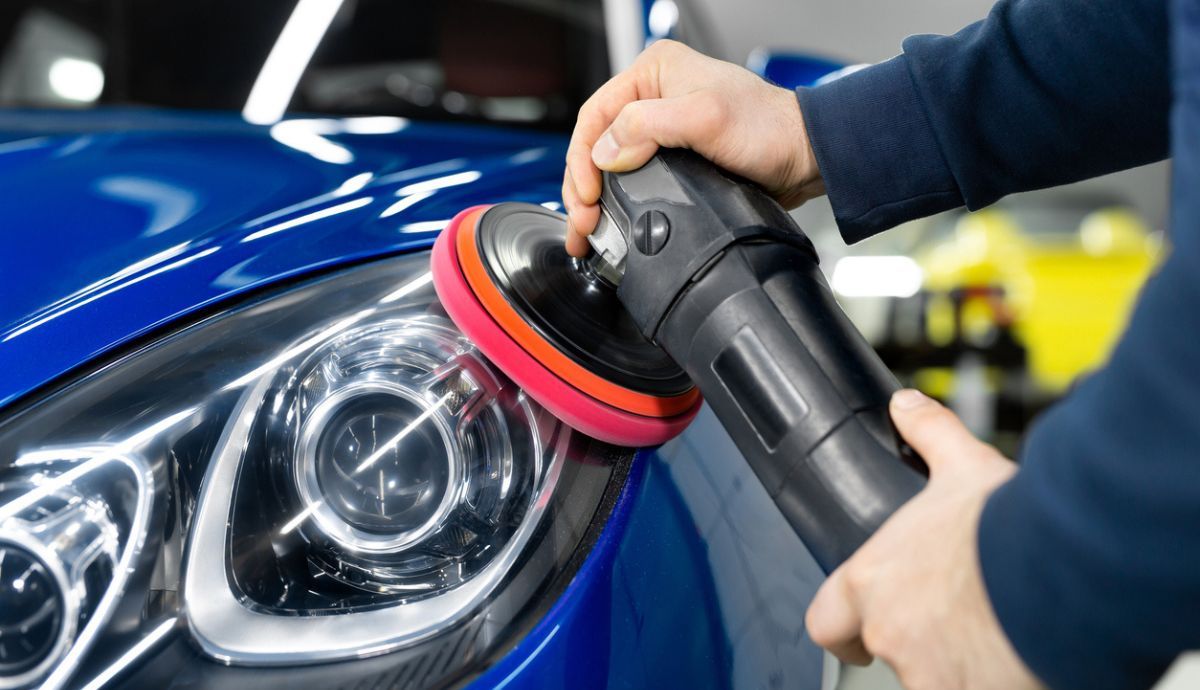
Work in the shade, with the headlight cool and the car body dry. To carry out this work, you will need masking tape, wet/dry sandpaper, and a specific polish. It is crucial to protect the paint, rubber seals, and trim surrounding the headlight, as improper use of tools such as sanders or drills can compromise the coating or damage the plastic.
Wet sanding, polishing, and UV protection.
Start with the least aggressive grit capable of removing the deterioration. It is crucial to keep the surface damp during the sanding process, apply even pressure, and completely remove the marks left by the previous step before proceeding to the finer grit.
Once it is completely dry, proceed to apply the polish in small areas, using smooth and precise movements until you achieve a uniform transparency. It is crucial to remember that finishing any project with a sealant or UV coating is essential to guarantee the protection of the polycarbonate.
Home remedies that clean, but do not restore.
Toothpaste can act as a mild abrasive, but baking soda, vinegar, or household degreasers offer unpredictable results. It's important to note that these products can stain or damage rubber without creating a UV barrier.
Using automotive-grade products and a clean microfiber cloth reduces potential risks. Therefore, using a dishwasher to wash your car is discouraged, as while it may remove grease, it doesn't guarantee compatibility with plastics and seals.
What the MOT test checks on headlights.
The MOT Station Inspection Procedure Manual establishes the requirements and guidelines for headlight inspection. The assessment of opacity is based on its impact on the lighting function and the presence of any other serious defects.
Before going to the MOT test, it is crucial to verify that both beams are symmetrical. If the light is positioned too close together, it is recommended to check the headlight height adjustment. It is important to note that the final adjustment requires the use of a professional headlight alignment tool.
Installing LED technology in a headlight designed for halogen is only permitted under specific regulations. See what to check when replacing halogens with LEDs to avoid problems during the inspection.
When is it worthwhile to go to a professional workshop?.
It is recommended to go to a professional if the deterioration is extensive or the headlight has advanced technology, such as matrix LEDs. The professional guarantees a durable UV finish under controlled conditions. A trained professional can integrate the work into a specialized detailing service. Replacing the entire assembly is only justified if the electronic or structural damage is irreparable.
Frequently Asked Questions about Cleaning Cloudy Headlights
- Can toothpaste be used to clean cloudy headlights?.
This product is designed to remove dirt and provide temporary improvement in cases of light cloudiness, thanks to its mild abrasive action. It does not offer lasting protection, nor does it correct a deeply oxidized UV layer, a crack, or internal moisture.
- What type of sandpaper should be used to polish headlights?.
It is important to note that there is no single grit suitable for all headlights. It is recommended to start with the least aggressive abrasive to remove the damage and progress to finer grits, such as 1000, 1500, and 2000 or higher, for moderate oxidation. Using 500 or 800 grit is effective at quickly removing material, although it may leave grooves that are difficult to clean. Therefore, its application is recommended only in cases of severe damage.
- Can a cloudy headlight cause a failed vehicle inspection?.
Yes, if the damage prevents the headlight from functioning correctly, or if it is accompanied by other lighting problems, the established procedures must be followed. The inspection includes a thorough check of the headlight's operation, color, alignment, type approval, and mounting.
- How long does headlight polishing last?.
The product's durability depends on several factors, such as the amount of material removed, the quality of the UV coating, exposure to sunlight, and subsequent washing. Polishing without sealing can lead to a loss of clarity in a short period of time, as it leaves the polycarbonate unprotected.
Restoring light without damaging the optics.
An accurate diagnosis is essential to determine the appropriate course of action: cleaning, polishing and sealing, repairing, or replacing. Using harsh abrasives without a thorough assessment can result in increased repair costs. Once the work is complete, it is recommended to check that both headlights illuminate evenly. If the beam remains weak, it is recommended to have the bulbs, reflectors, and power supply checked at a specialized workshop.